Placing Institution Logo in Unified Navigation App Bar
Updated March 27, 2026 15:13
Unified Navigation is a unified dashboard for you to access multiple Curriculum Strategy products from a single login access.
If your institution has Unified Navigation implemented then you will be able to use an uploaded logo to place on the app bar to provide further identity to the new dashboard.
Follow the steps below to place your logo in the app bar of the Unified Navigation dashboard if desired after uploading your logo to the Media Library
Please note : For best results, your logo should have a height of 40px
Steps to place Institution Logo:
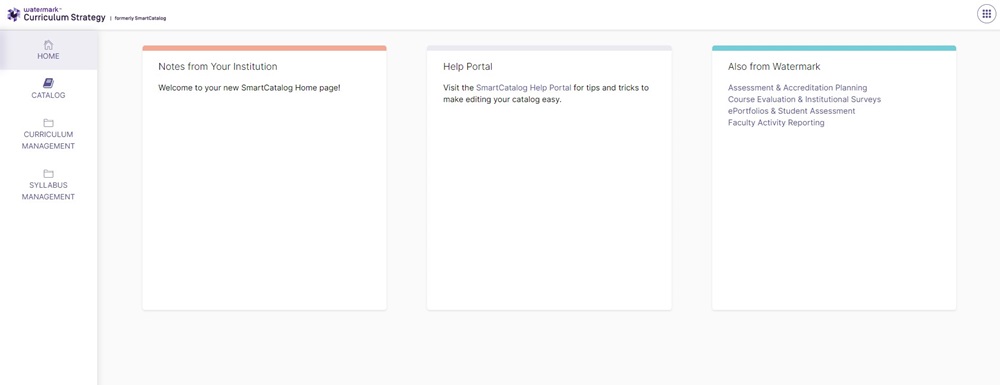
Select the Home item of the Institution
A new section has been added to this template, called Institution Settings
The image can be set from the Institution Image field
From the drop down option in the Institution Image field, select the uploaded image from the Media Library
If the logo has not been uploaded to the Media Library yet, see the next three steps
(you can see more details about uploading an image from the Help Guide )
Open the Media Library and locate the Institution
Right click the Institution folder
Select Insert
Select Upload File
From the wizard, select Choose File and upload the institutions logo
Select the Upload button
The logo image will be listed within the institutions media library folder
Publish the image (select Publish from the top ribbon, select the Publish dropdown, select Publish Item)
Within the Institution Image Link field, users can put in a URL and the logo in the App bar will link to this URL
This field can be left blank if they do not wish to set up the link
Was this article helpful?
Yes
No
0 out of 0 found this helpful
Return to top
/hc/en-us/categories/4410672691227-Watermark-Updates
/hc/theming_assets/01K3KX0J2BB1MZMKY3SXP69GZW
Release Notes
Announcements, News, & Roadmaps
custom
/hc/en-us/categories/4410673196187-Technical-Resources
/hc/theming_assets/01K3KX0JC9JW7SRY2VYJQ6YVGT
Integrations & Other Resources
Integrations, authentication, accessibility resources
custom
https://academy.watermarkinsights.com/
/hc/theming_assets/01K3KX0JQS0WJEC0W76G3E8209
Need Training or Consultation? Visit the Academy
Click to access the Watermark Academy for consultation, training, and implementation companion courses
custom
https://support.watermarkinsights.com/hc/en-us/articles/16630244989851-The-Watermark-Ideas-Portal
/hc/theming_assets/01K3KX0K2DNZR7X2PJFZAE919A
Have Ideas? Visit the Ideas Portal
Submit and vote on ideas for new features and improvements
custom
https://support.watermarkinsights.com/hc/en-us/sections/17972200371867-Accessibility
/hc/theming_assets/01K10X09JFPDEK1PJZKYJYTK0Q
Accessibility
Accessibility resources and articles
How do I access my Student Learning & Licensure account?